在Ubuntu 13.10 下安装支持SSL的Apache
原创:Linux中国 https://linux.cn/article-2202-1.html
原创:LCTT https://linux.cn/article-2202-1.html
译者: Luoxcat
通过这个简短的教程,让我来指导你如何安装支持SSL的Apache。以下是我的试验机的详细说明:
系统信息
root@ubuntu-unixmen:~# ifconfig
eth0 Link encap:Ethernet HWaddr 08:00:27:b8:b4:87
inet addr:10.1.1.110 Bcast:10.1.1.255 Mask:255.255.255.0
inet6 addr: fe80::a00:27ff:feb8:b487/64 Scope:Link
UP BROADCAST RUNNING MULTICAST MTU:1500 Metric:1
RX packets:1738 errors:0 dropped:0 overruns:0 frame:0
TX packets:69 errors:0 dropped:0 overruns:0 carrier:0
collisions:0 txqueuelen:1000
RX bytes:168845 (168.8 KB) TX bytes:9767 (9.7 KB)
-
root@ubuntu-unixmen:~# cat /etc/issue
Ubuntu 13.10 \n \l
安装apache
运行如下命令:
$ sudo apt-get install apache2 apache2-doc apache2-utils
Reading package lists... Done
Building dependency tree
Reading state information... Done
The following extra packages will be installed:
apache2-bin apache2-data libapr1 libaprutil1 libaprutil1-dbd-sqlite3 libaprutil1-ldap ssl-cert
apache测试页面
打开浏览器,转到http://你的测试机的IP地址/。你应该会看到类似以下的信息。

创建目录
创建一个名为ssl的目录
$ sudo mkdir /etc/apache2/ssl
创建一个自签名凭证
$ sudo openssl req -x509 -nodes -days 365 -newkey rsa:2048 -keyout /etc/apache2/ssl/apache.key -out /etc/apache2/ssl/apache.crt

Generating a 2048 bit RSA private key.......................................................................................+++....................................+++writing new private key to '/etc/apache2/ssl/apache.key'-----You are about to be asked to enter information that will be incorporatedinto your certificate request.What you are about to enter is what is called a Distinguished Name or a DN.There are quite a few fields but you can leave some blankFor some fields there will be a default value,If you enter '.', the field will be left blank.-----Country Name (2 letter code) [AU]:
开启Apache SSL模块
运行以下命令开启ssl模块
$ a2enmod ssl
Considering dependency setenvif for ssl:
Module setenvif already enabled
Considering dependency mime for ssl:
Module mime already enabled
Considering dependency socache_shmcb for ssl:
Enabling module socache_shmcb.
Enabling module ssl
编辑 /etc/apache2/sites-enabled/default-ssl.conf 文件,
ServerAdmin webmaster@localhost
ServerName www.unixmen.com:443

SSLEngine on
SSLCertificateFile /etc/apache2/ssl/apache.crt
SSLCertificateKeyFile /etc/apache2/ssl/apache.key
启用Apache缺省的SSL虚拟主机:
$ a2ensite default-ssl
Enabling site default-ssl.
To activate the new configuration, you need to run:
service apache2 reload
重启Apache:
$ sudo service apache2 restart
测试SSL连接
打开浏览器,转到https://你的测试机IP。
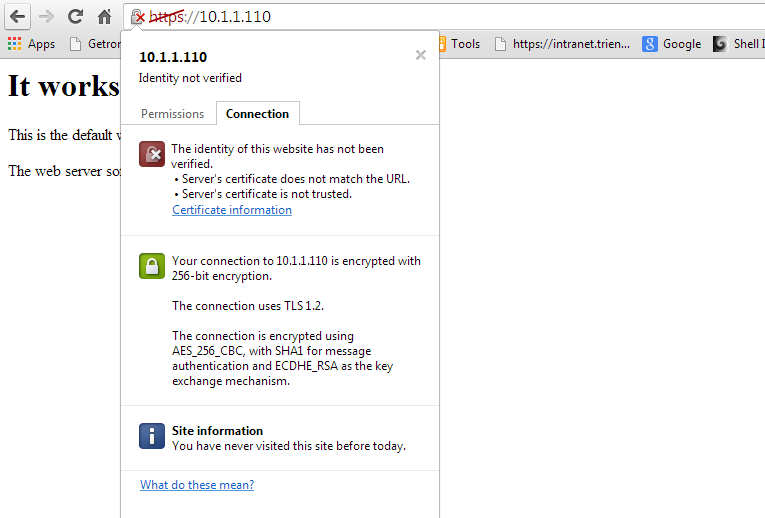
安装完成,尽情享用!
via: http://www.unixmen.com/install-apache-ssl-ubuntu-13-10/